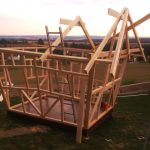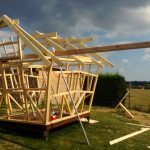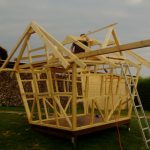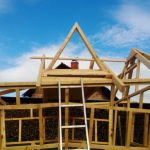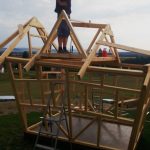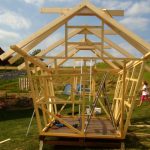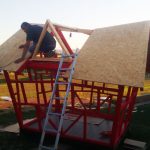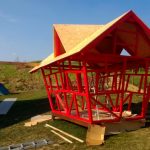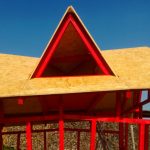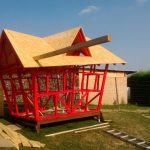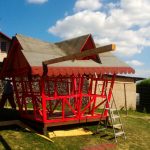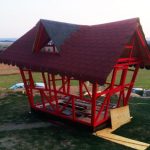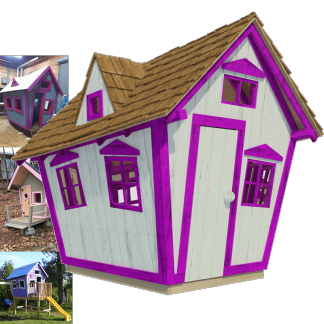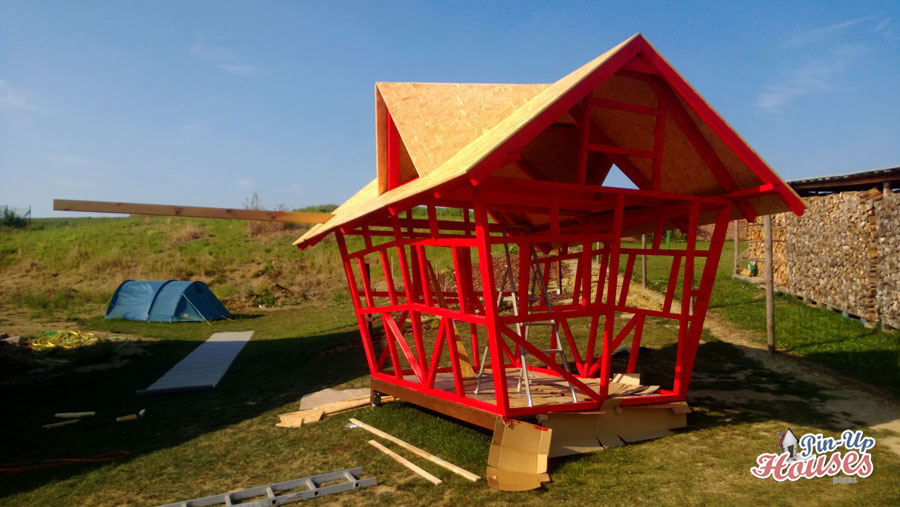
We are very happy today. We received a huge amount of amazing photographs of a crooked playhouse. Thank you Radek! It feels like Christmas came early and we are very eager to share the photos with you. There is everything, from connecting the very first timber frame to completed cladded and painted kids playhouse, beautiful. Due to bigger number of the pictures, we will split them into more articles, so enjoy your dose today and stay tuned for more coming soon!
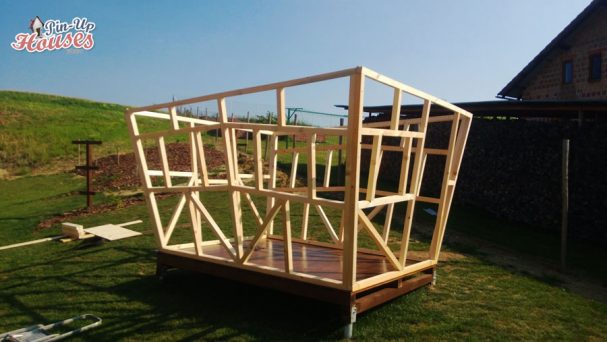
This is a story from Czech Republic. Once upon a time, there was a gentleman named Radek who agreed to construct a wooden playhouse for his friend, according to the playhouse plans bought from us. He had to alter it first, because the friend wanted a small house with loft. And then he had to re-calculate and re-size all the dimensions and proportions, because the friend already had a 242 x 181 cm base to be used as a slab foundation. But he went for it. Because that’s the friend he is! Even when during the construction process that friend came up with an idea of how great it would be to have a bed between the skylights, which meant another adjustments, Radek still went for it. Maybe he just likes math. Anyway good for all of us, because that friend has a beautiful playhouse for children and we have great photos of it.
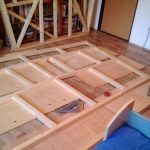
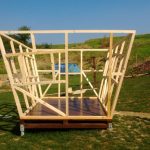
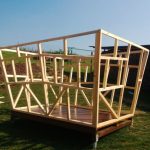
So first Radek begun with putting the individual wall frames together. In his living room! Because why not, the weather probably was not very nice and building a timber frame is really not difficult. Once you have the 2 x 4 structural timber pieces, you just need to know your dimensions, properly measure and cut it. Then with even more precision lay it to the shape you need with door openings and window openings on right places, nail or screw it together and hooray, the wall frames are done! The base had already been sorted as a timber slab foundation connected to the ground with ground screws. It is quite simple solution and practical for uneven surfaces, such as in our fairy tale. So after Radek finished all that living room installation of individual frames, he connected them to the foundation slab. It may have been bit tricky with walls being sloped like this, but clearly he did a very nice job!
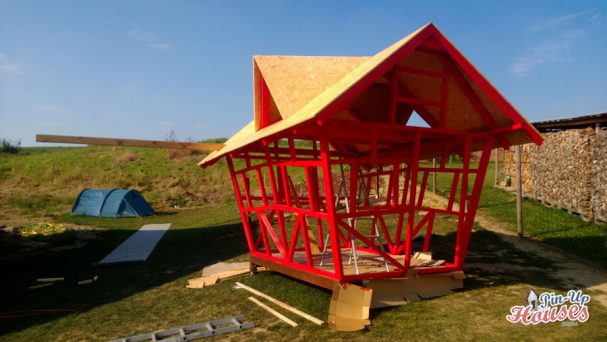
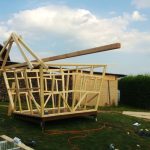
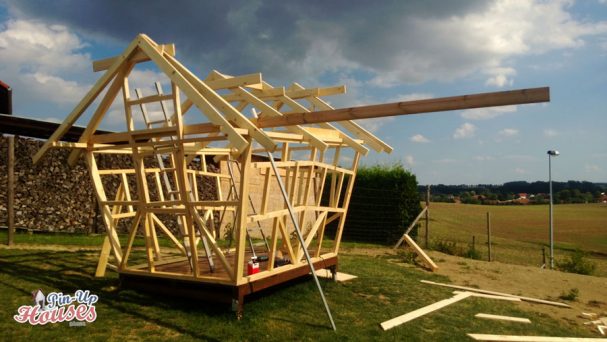
Then the roof construction began. This wooden playhouse has a simple gable roof, so first part was to put the roof rafters and tie beams to their place. Things got bit more fun when it came the second gable end perpendicular to the first one (which makes this so called crossed gable roof type), but at the end all was done perfectly. And painted red! How cool that looks! Also, we must not forget that the plate for future loft was installed. The loft board already came in handy when Radek and his friend the builder could use it to stand on it when fixing OSB boards, second layer of roofing and another one made of what to be honest looks like toy roof shingles. They are made of textile, fixed to the layer underneath.
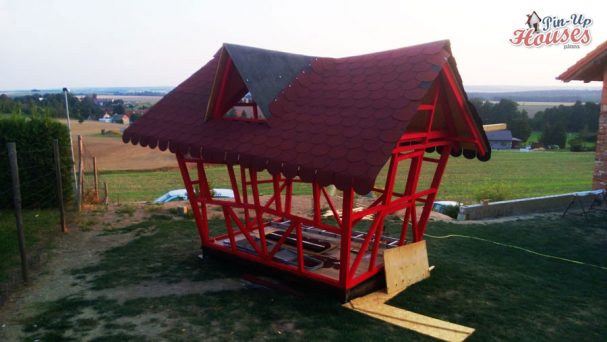
Well that is our fairy tale coming to an end. But only for today, so no living happily ever after yet, because soon enough we will come with the second part. You will see more photos and find out how the entire playhouse for kids looks, what colors it has and what it is like inside. So keep following us and stay excited! Or in the meantime check out our playhouse plans offer and maybe you will be the main hero of construction fairy tale next time!
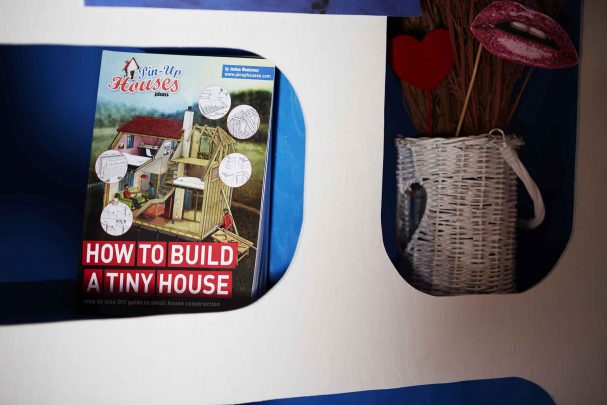
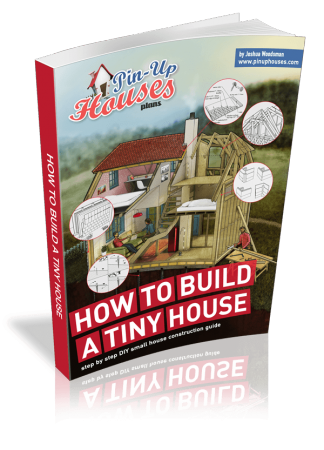
If you are not very confident with timber construction and DIY plans like this one, we have a solution for that too. Our step by step guide How to build a tiny house, full of useful advises, information, manuals, illustrations and photographs. Order electronic or printed version anytime right here.

